9 High-Impact Small Kitchen Backsplash Ideas That Create Big Visual Interest
This post contains affiliate links. If you buy something through them, I may earn a small commission at no extra cost to you.
A plain white subway tile backsplash isn’t “timeless” — it’s what happens when nobody makes a decision. Your backsplash is the smallest surface in the room, which means it’s exactly where a bold move costs the least and pays off the most.
Small kitchen backsplash ideas get to be the loudest detail in the room without demanding a full renovation budget. Let’s tile out the 9 options that actually earn their square footage.
1. Stack Subway Tile Vertically Instead of Horizontally
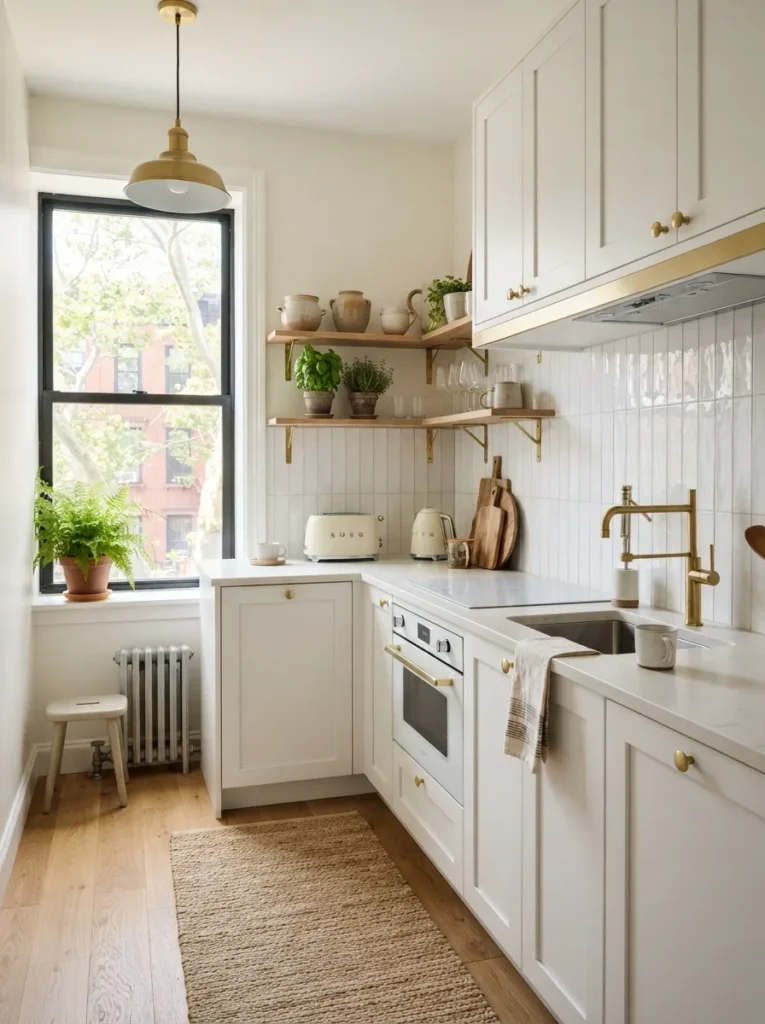
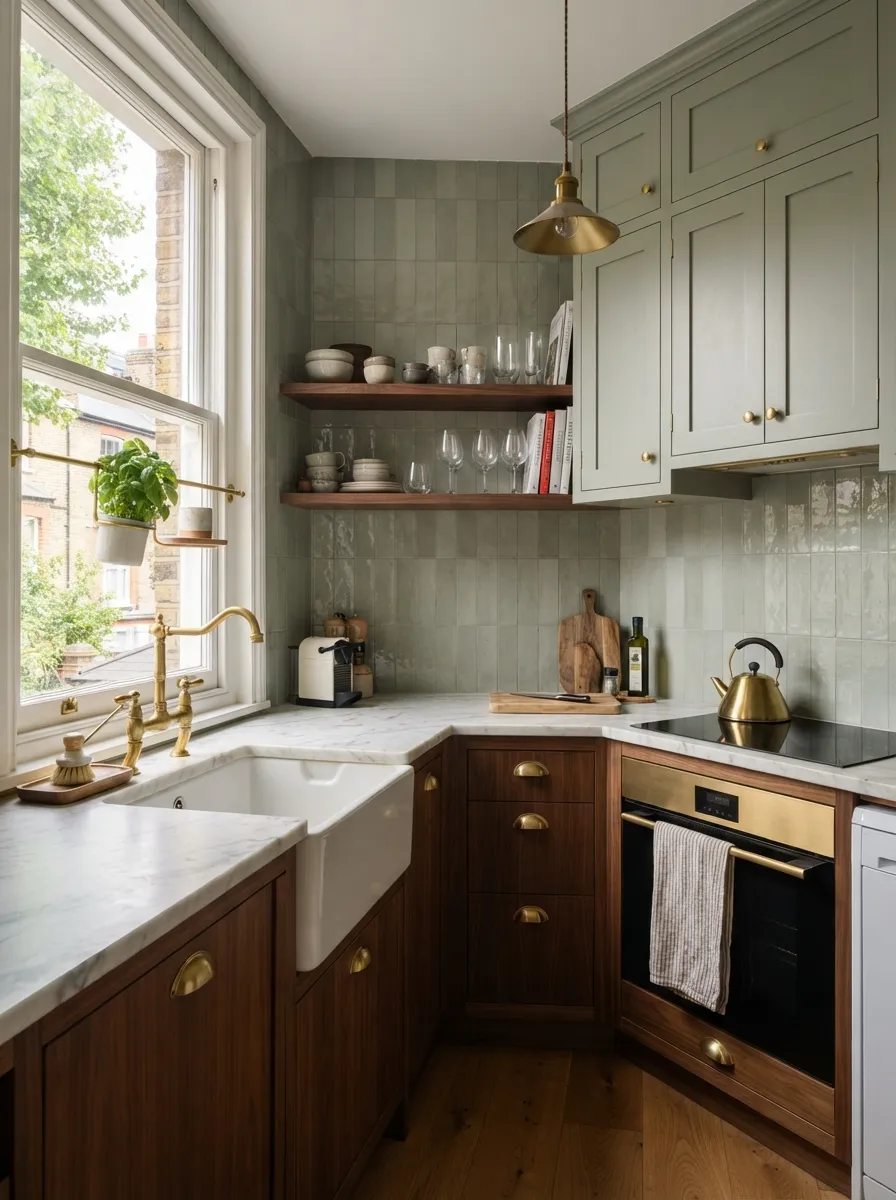
Standard running-bond subway tile is fine — but stacking it vertically instead does something horizontal tile can’t: it draws the eye up.
Why this works: Vertical lines visually stretch ceiling height, which matters enormously in a small kitchen with a low or standard 8-foot ceiling.
Design tip: Keep the grout color close to the tile shade for a cleaner, more seamless vertical line. High-contrast grout chops up the effect you’re going for.
Material to avoid: Overly textured tile in this layout — the vertical stack works best with a clean, flat tile face.
2. Choose a Glossy, Reflective Glazed Tile
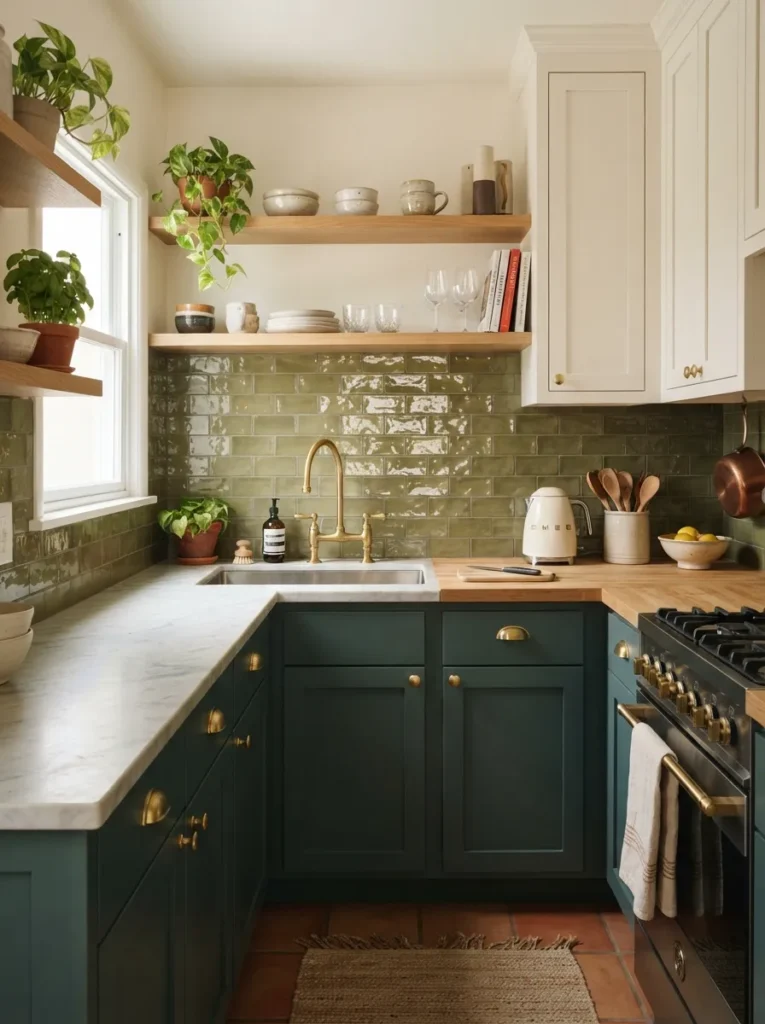
Matte tile absorbs light. Glossy, glazed tile bounces it back into the room — a small but meaningful difference in a kitchen without much natural light.
Why this works for small kitchen backsplash ideas: Reflective surfaces make a tight kitchen feel brighter and larger without touching your paint or cabinetry.
Pro: Glazed tile also wipes clean easily, which matters right behind a stove or sink.
Con to consider: High-gloss finishes show water spots more readily — a quick wipe-down after cooking keeps it looking sharp.
3. Go Seamless With a Stone Slab Backsplash
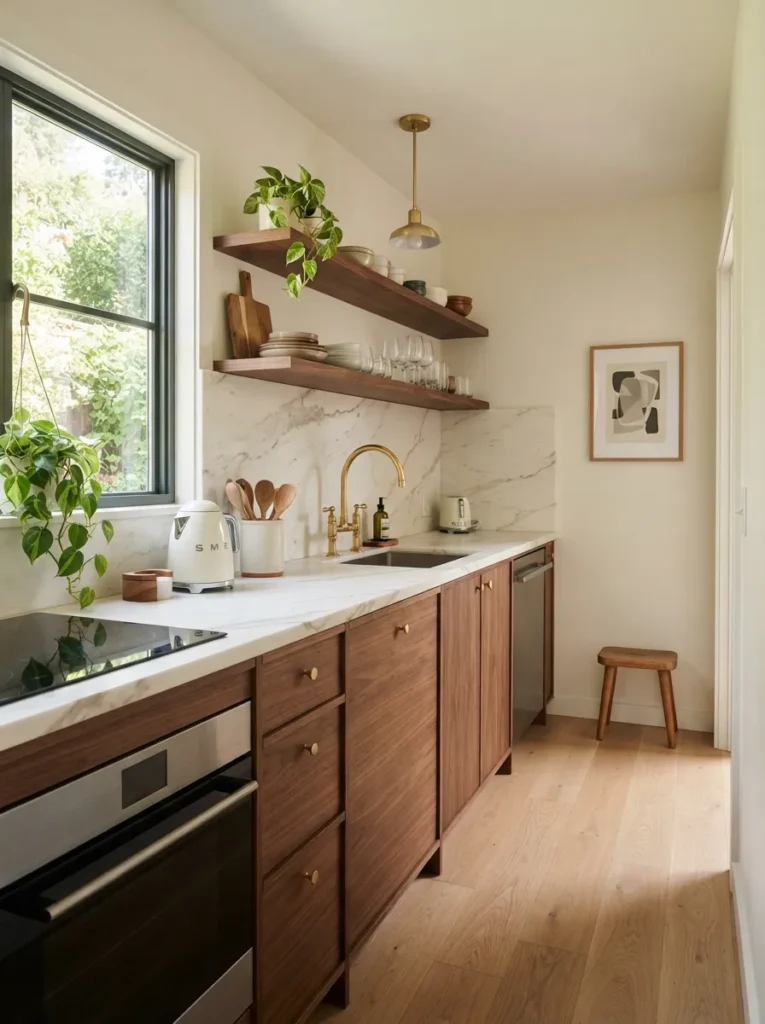
A single slab of stone — quartz, marble, or a quartzite lookalike — eliminates grout lines entirely, creating one uninterrupted visual plane from counter to upper cabinet.
Design insight: This works especially well when the slab matches your countertop, making the whole zone read as one continuous, high-end surface.
Spatial advice: Because it’s a small backsplash area, slab material stays surprisingly affordable compared to countertop-scale projects.
Con to consider: Custom-cut slabs require professional installation — this isn’t a weekend DIY project like peel-and-stick tile.
4. Add a Herringbone Accent Panel
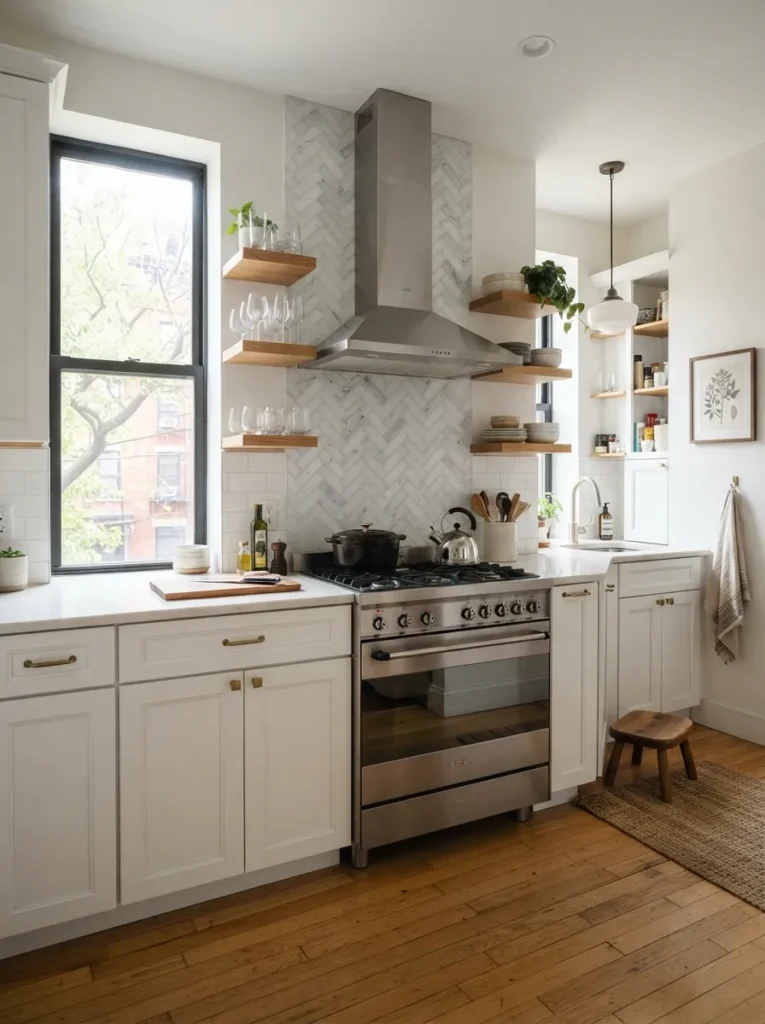
You don’t need to tile your whole kitchen in herringbone to get the visual payoff — a single accent panel behind the stove delivers the same punch.
Why this works: Herringbone’s diagonal movement adds texture and depth without requiring more square footage than a standard tile layout.
Design insight: Keep the surrounding backsplash simple and flat, letting the herringbone section function as a clear focal point rather than competing pattern.
Material to avoid: Overly small mosaic herringbone pieces — the grout lines multiply fast and can look busy in a tight kitchen.
5. Install a Full Mirror Surface Behind the Range
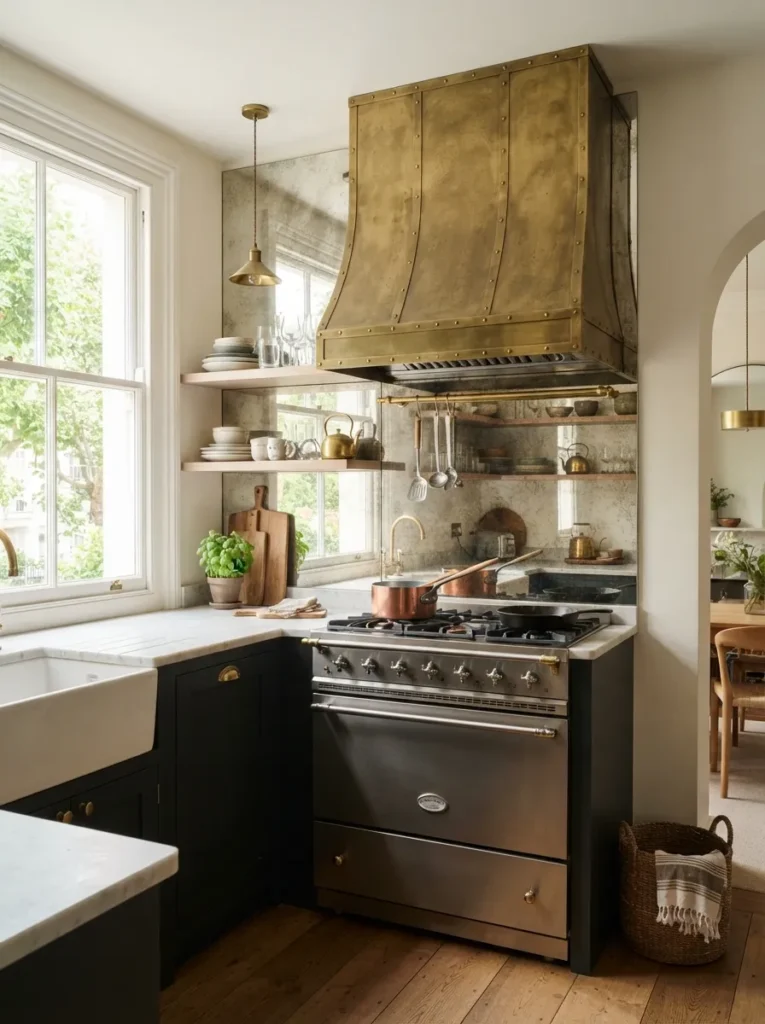
A mirrored backsplash is the boldest move on this list, and it’s also one of the most effective at visually doubling a tight kitchen footprint.
Why this works for small kitchen backsplash ideas: Mirror reflects both light and depth, making the room appear larger than its actual dimensions.
Spatial advice: Position it to reflect a window or a green plant, not a cluttered counter — mirrors amplify whatever’s across from them, good or bad.
Con to consider: Mirror shows water spots and grease more visibly near a stove — a heat-rated mirror panel is worth the upgrade over standard glass.
6. Use Bold Color on a Small Scale
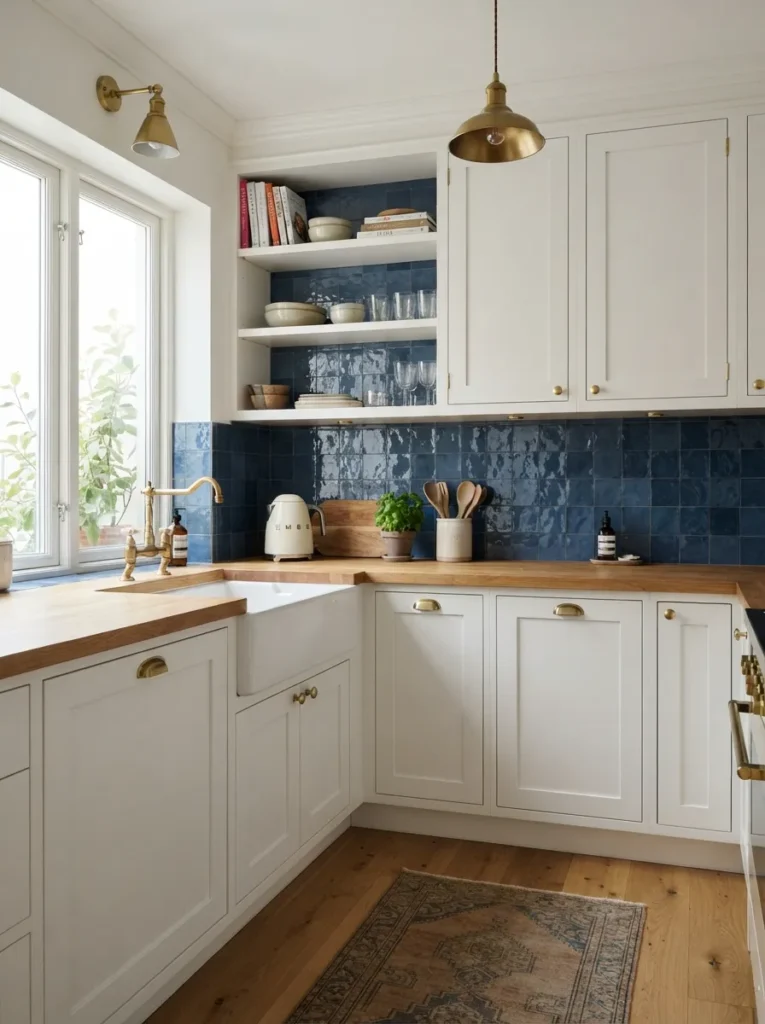
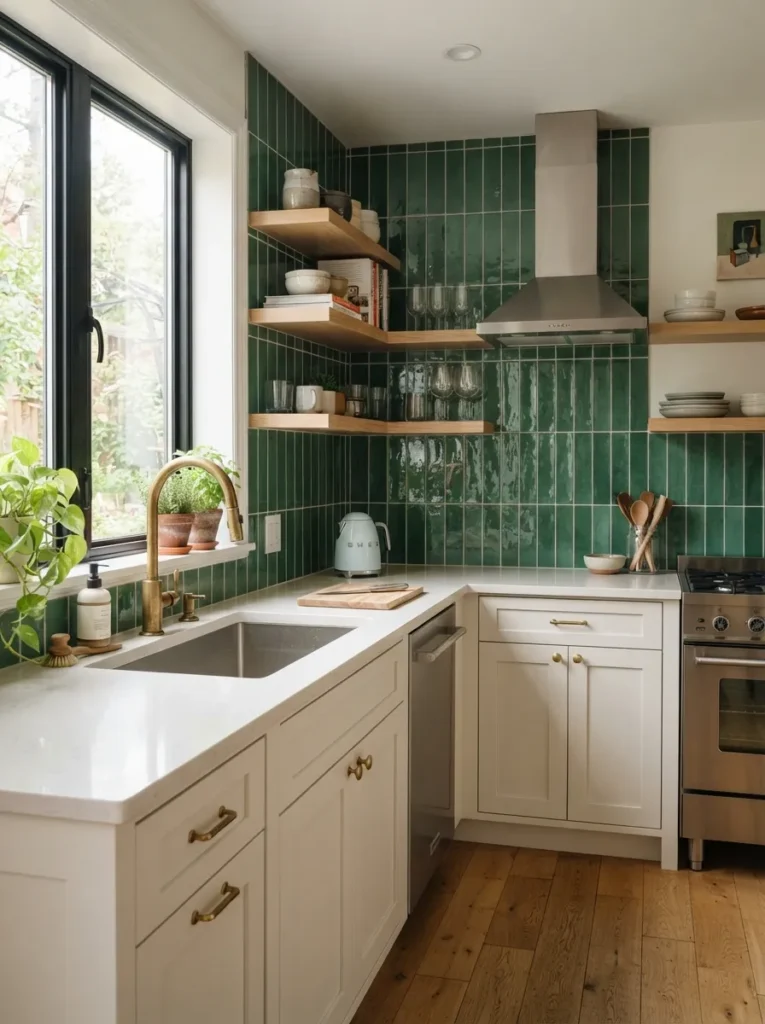
A backsplash is the perfect low-risk place to commit to a color you’d never paint an entire wall in.
Adds a bold pop of color to a small backsplash without overwhelming the room.
🛒 Check Price on AmazonDesign insight: Because the surface area is small, even a saturated color stays balanced rather than overpowering — the scale does the moderating for you.
Pro tip: Pair a bold backsplash color with white or neutral cabinetry to keep the overall palette from feeling too busy.
7. Try Peel-and-Stick for a No-Commitment Refresh
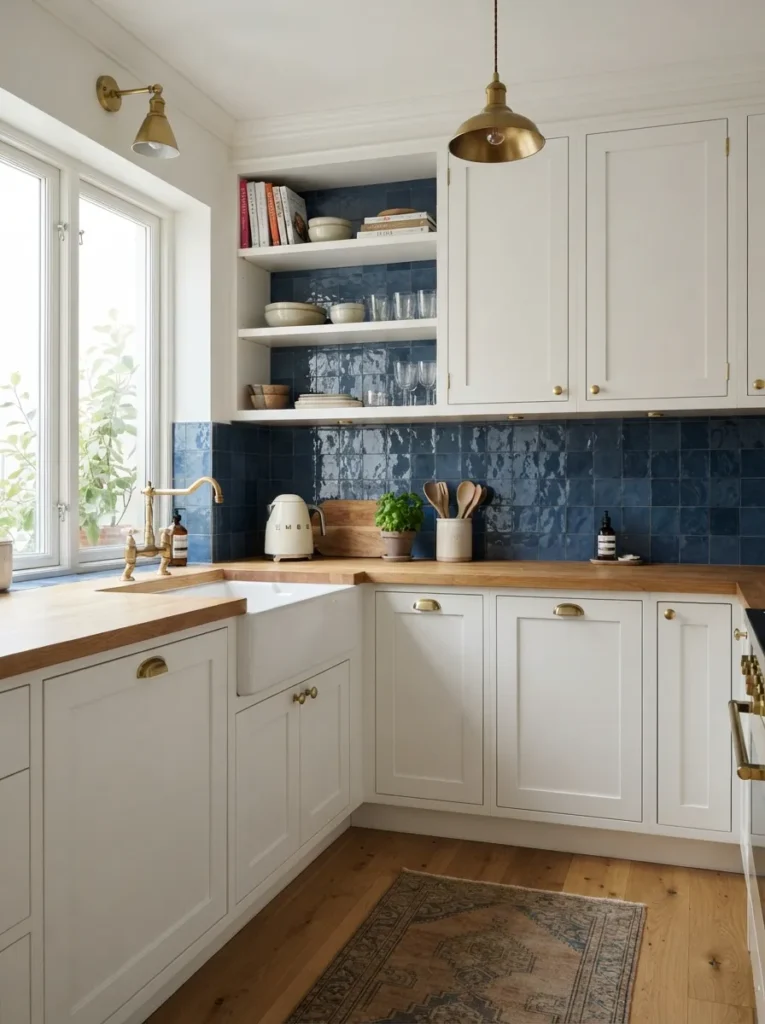
Renters and commitment-phobic DIYers, this one’s for you. Peel-and-stick backsplash tile delivers real texture and pattern with zero grout, zero mess, and zero permanence.
Installs in an afternoon with no grout or professional labor required.
🛒 Check Price on AmazonWhy this works: Because backsplashes are small, even premium peel-and-stick materials stay affordable — the surface area keeps the cost realistic.
Material to avoid: Flat vinyl decals that mimic tile only in photos. Look for dimensional, textured peel-and-stick — it reads as real tile from a few feet away.
8. Add a Contrasting Grout Line for Definition
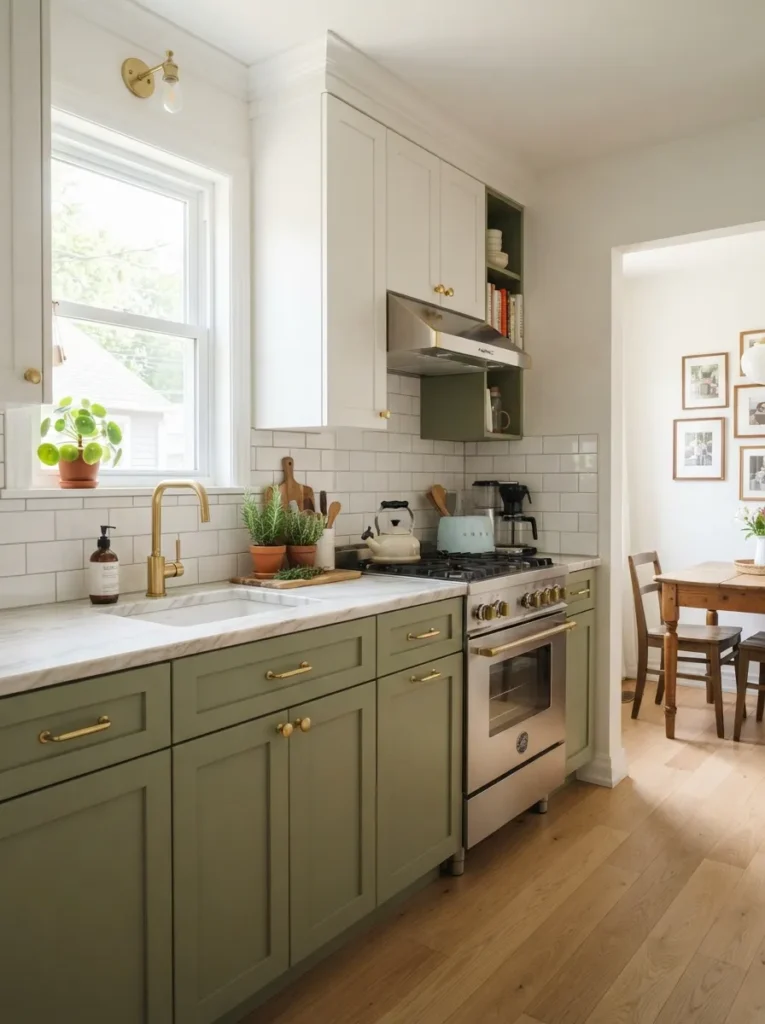
Sometimes the easiest way to add visual interest isn’t new tile at all — it’s a bold grout color against a classic white tile.
Adds graphic definition to simple white tile without a full backsplash replacement.
🛒 Check Price on AmazonDesign insight: Dark grout against white subway tile creates a clean, graphic pattern that reads as intentional, not accidental.
Con to consider: Dark grout shows less staining over time than white grout does, making it a genuinely practical choice, not just a style statement.
9. Extend the Backsplash to Full Wall Height
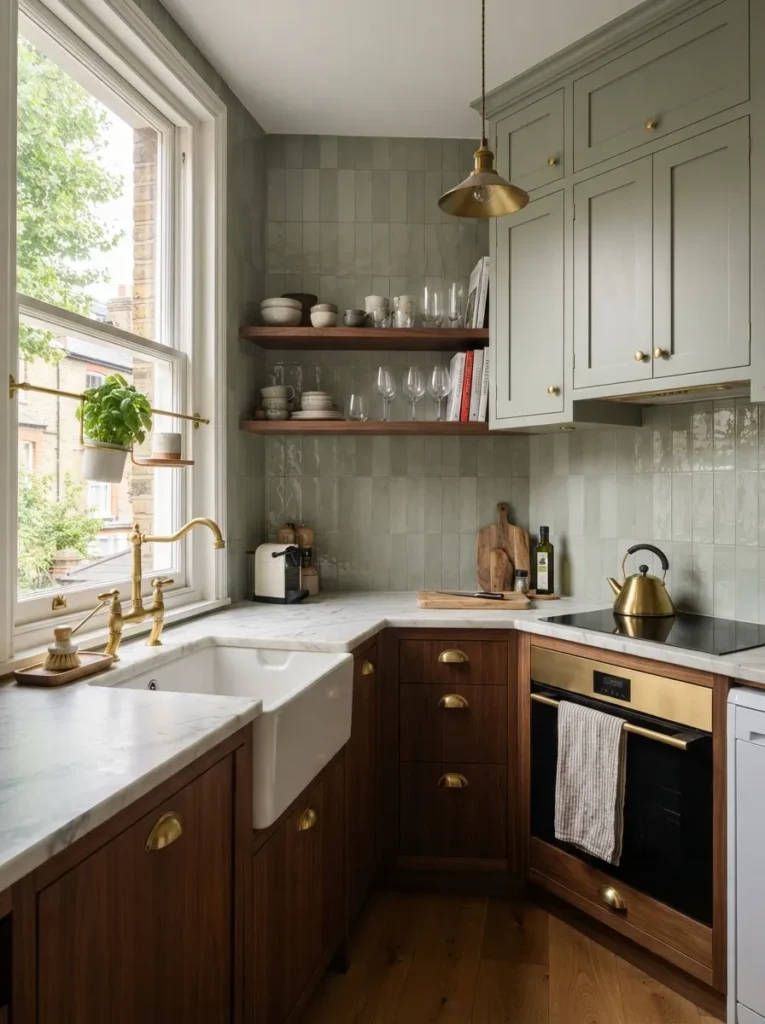
Most backsplashes stop at 18 inches, leaving a flat, empty stretch of wall between counter and upper cabinet. Extending tile all the way up changes the whole visual proportion.
Why this works for small kitchen backsplash ideas: A full-height backsplash removes a visual break point, letting the eye travel up the wall uninterrupted.
Spatial advice: This works especially well behind open shelving, where the tile becomes a textured backdrop instead of just a functional splash guard.
Con to consider: Full-height tile costs more in materials and labor — reserve it for a single focal wall if your budget is tight.
Your backsplash might be the smallest surface in the kitchen, but it’s punching well above its square footage. Pick a bold tile, commit to the pattern, and let this tiny wall do the loudest talking in the room.