9 Stylish Small Kitchen Open Shelving Ideas for an Airy, Uncluttered Look
This post contains affiliate links. If you buy something through them, I may earn a small commission at no extra cost to you.
Upper cabinets aren’t the enemy — but a wall of bulky boxes stacked to the ceiling can make a small kitchen feel like it’s closing in on you. Doors you have to open just to find a coffee mug are doing more visual damage than you think.
Small kitchen open shelving swaps that bulk for breathing room, letting light and sightlines travel clean across the whole space. Let’s get into the 9 ways to pull it off without it looking like a Pinterest fail.
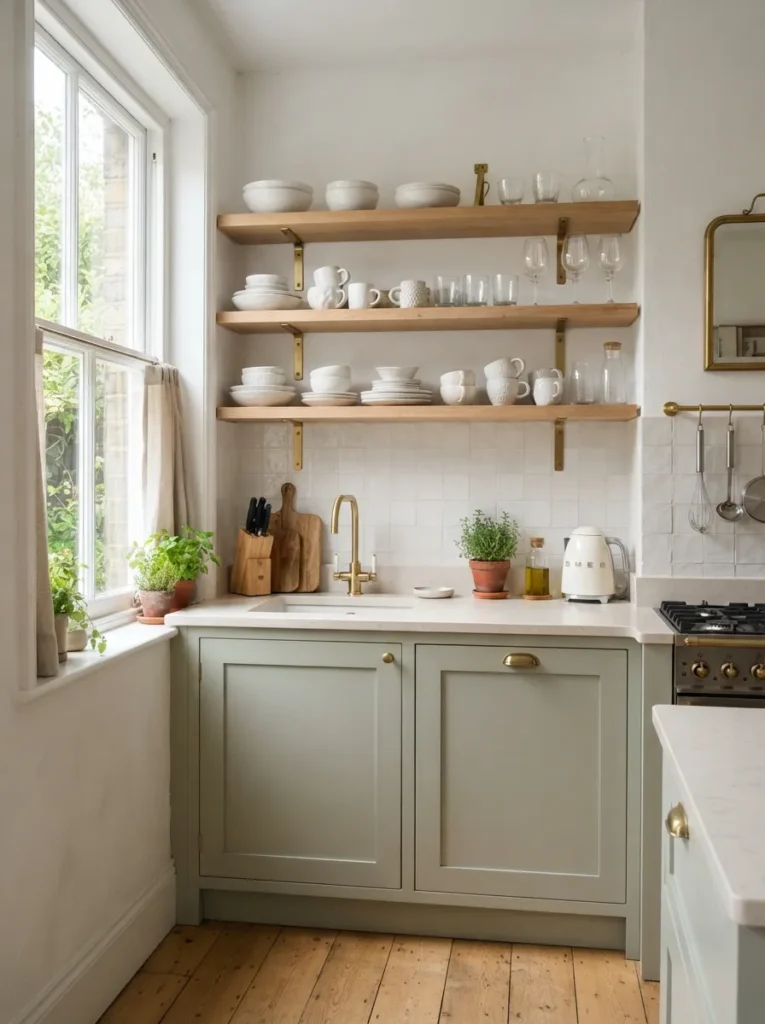
1. Install Single-Tier Floating Corner Shelves
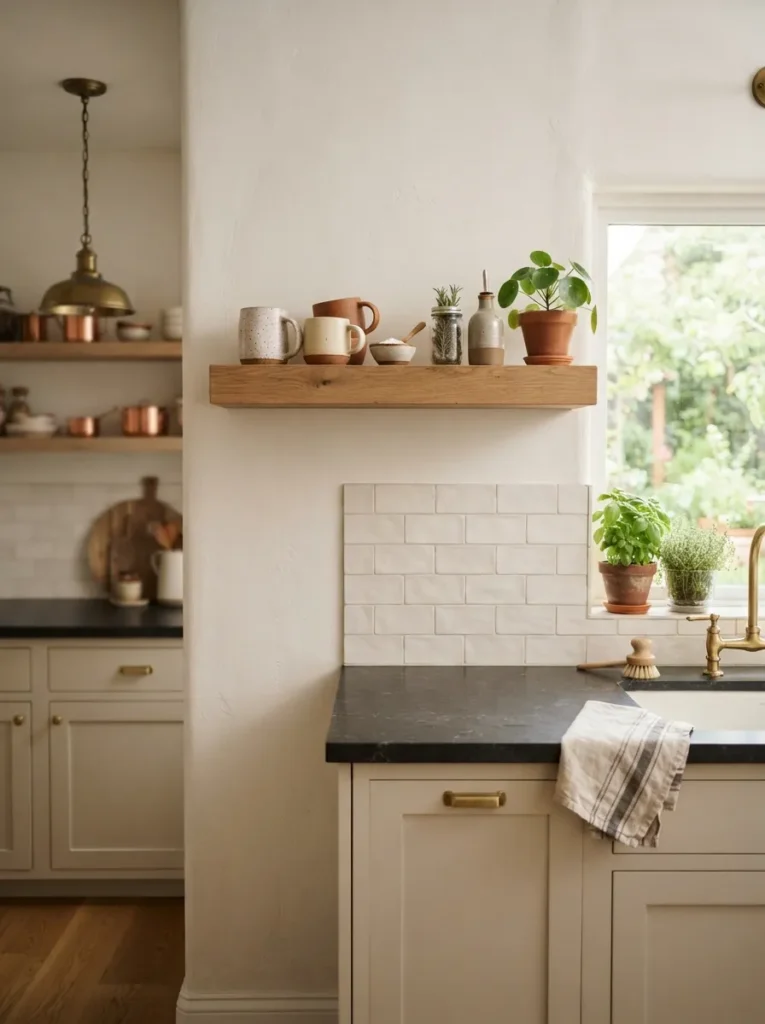
Corners are the most awkward real estate in any small kitchen, and a single floating shelf tucked into one solves it without adding visual weight.
Why this works: One tier keeps the corner from feeling stacked or heavy, which matters most in kitchens with lower ceilings or tight sightlines.
Design tip: Angle the shelf at 45 degrees across the corner rather than mounting two shelves on adjoining walls — it reads as far more intentional.
Spatial advice: Keep styling to three or four pieces max. A corner shelf gets visually crowded faster than a straight wall run.
2. Add Brass-Bracketed Ledges for Warmth
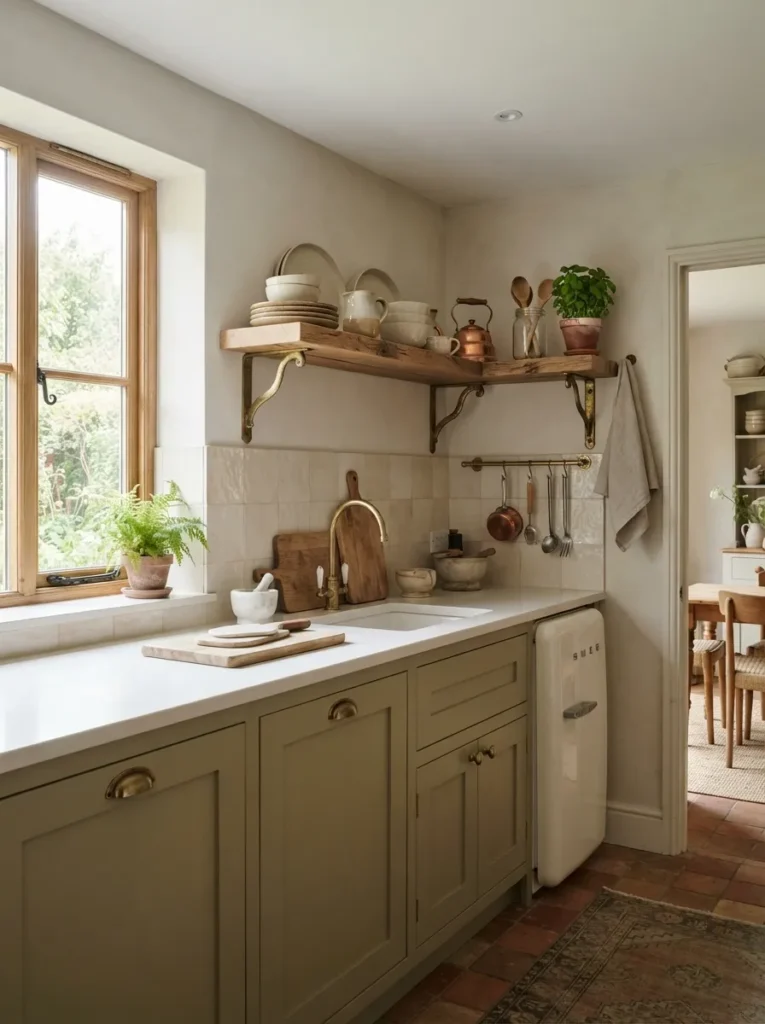
Exposed brackets aren’t a flaw to hide — they’re a design detail worth showing off, especially in warm brass or aged gold.
Design insight: Visible hardware adds a layer of texture that a hidden-bracket “floating” shelf simply can’t offer.
Pro: Brass brackets pair beautifully with both light oak and painted shelving, making them a flexible choice across style directions.
Material to avoid: Cheap, thin brackets that flex under weight. Look for solid brass or steel rated for at least 20 pounds per bracket.
3. Build a Recessed Alcove Insert
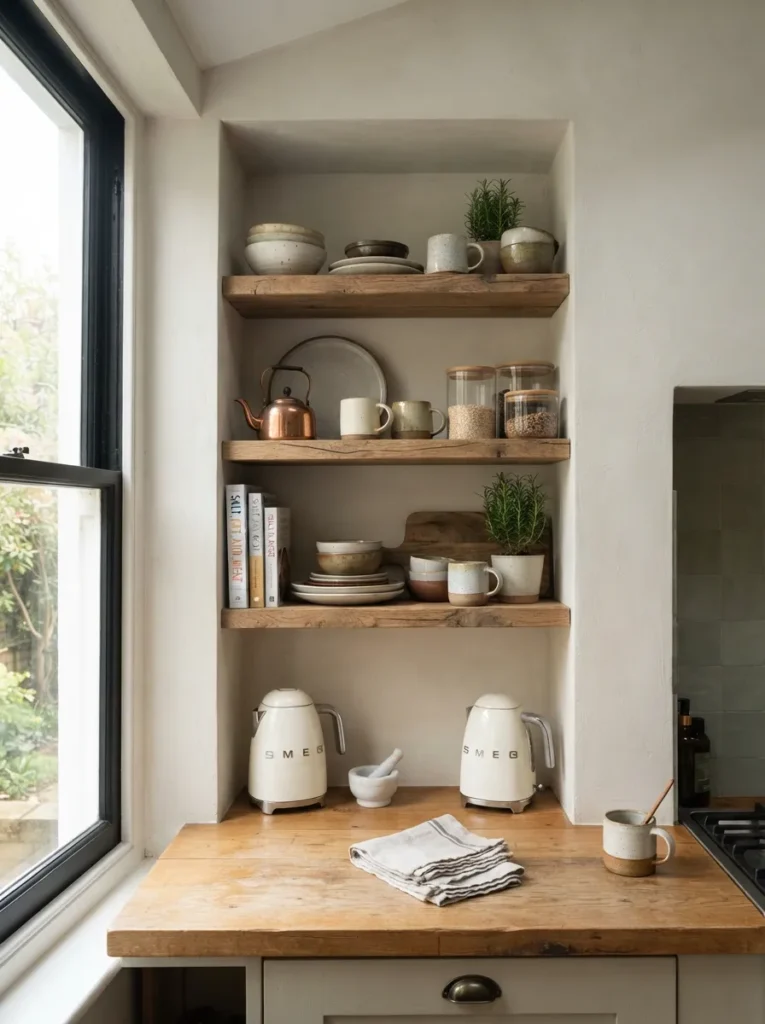
If your kitchen has an existing wall niche or alcove, built-in shelving there does double duty — storage without adding a single inch of visual bulk.
Why this works for small kitchen open shelving: Recessed shelves sit flush with the wall instead of protruding into the room, which is huge in narrow galley layouts.
Spatial advice: This is the best option for kitchens where every inch of walkway clearance genuinely counts.
Con to consider: Recessed installs typically require some drywall or framing work, so it’s a better fit for a renovation than a weekend project.
4. Keep It to One Wall Only
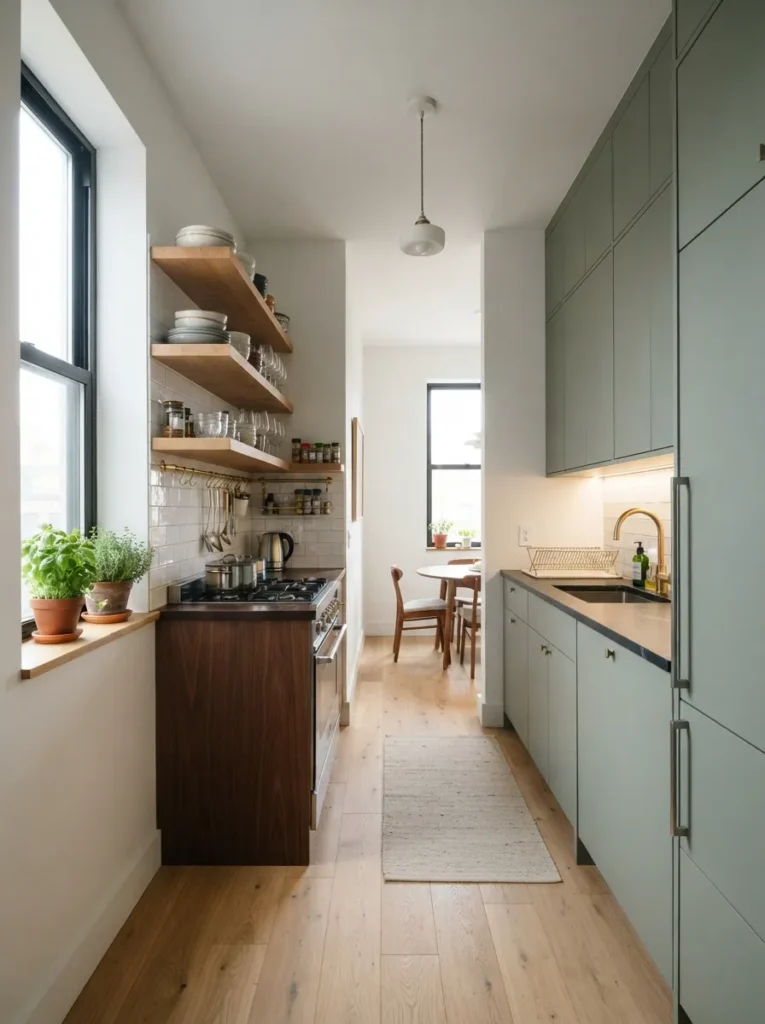
The biggest mistake in small kitchen open shelving is going all-in on every wall. Total openness reads as under-storage, not minimalism.
Design insight: Reserve open shelving for one wall — ideally the one that gets the most natural light — and keep closed cabinetry on the rest.
Pro: This balance gives you a place to hide the mismatched Tupperware while still getting the airy visual payoff open shelving delivers.
Spatial advice: Choose the wall visible from the room’s main entry point — that’s where the open, uncluttered effect will register most.
5. Style With a Tight, Curated Color Palette
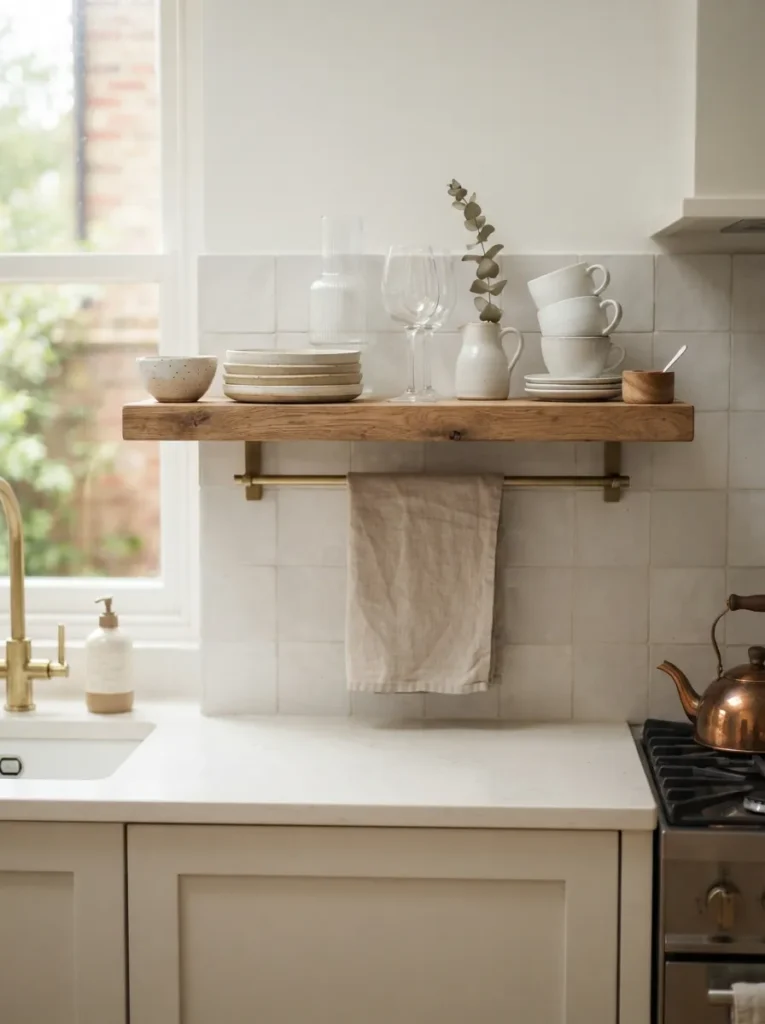
Open shelving lives or dies by what’s sitting on it. A tight, cohesive palette is the difference between “curated” and “cluttered.”
Design insight: Stick to two or three colors max — white ceramics, clear glass, and one wood tone is a foolproof starting combination.
Material to avoid: Mismatched dish sets in competing colors and patterns. They read as visual noise the second they’re out from behind a cabinet door.
Pro tip: Rotate seasonal pieces in and out rather than displaying your entire collection at once — restraint is what makes this look work.
6. Add Under-Shelf Lighting for Depth
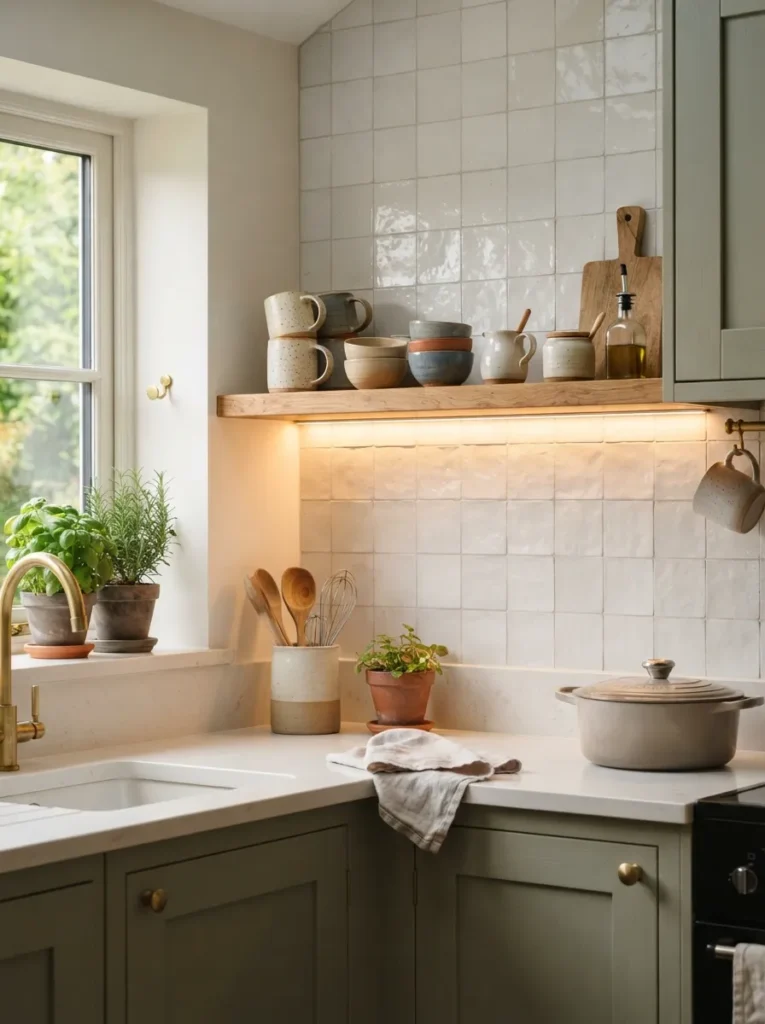
Open shelves without lighting can look flat, especially at night when your ceiling fixture is the only light source in the room.
Adds a warm glow to open shelving with no wiring or drilling required.
🛒 Check Price on AmazonLighting tip: Choose warm white (2700K) bulbs — cool white light flattens ceramics and makes the display feel more like a display case than a lived-in kitchen.
This tiny addition photographs beautifully and makes evening cooking noticeably more pleasant.
7. Mount Slim Floating Shelves in Solid Wood
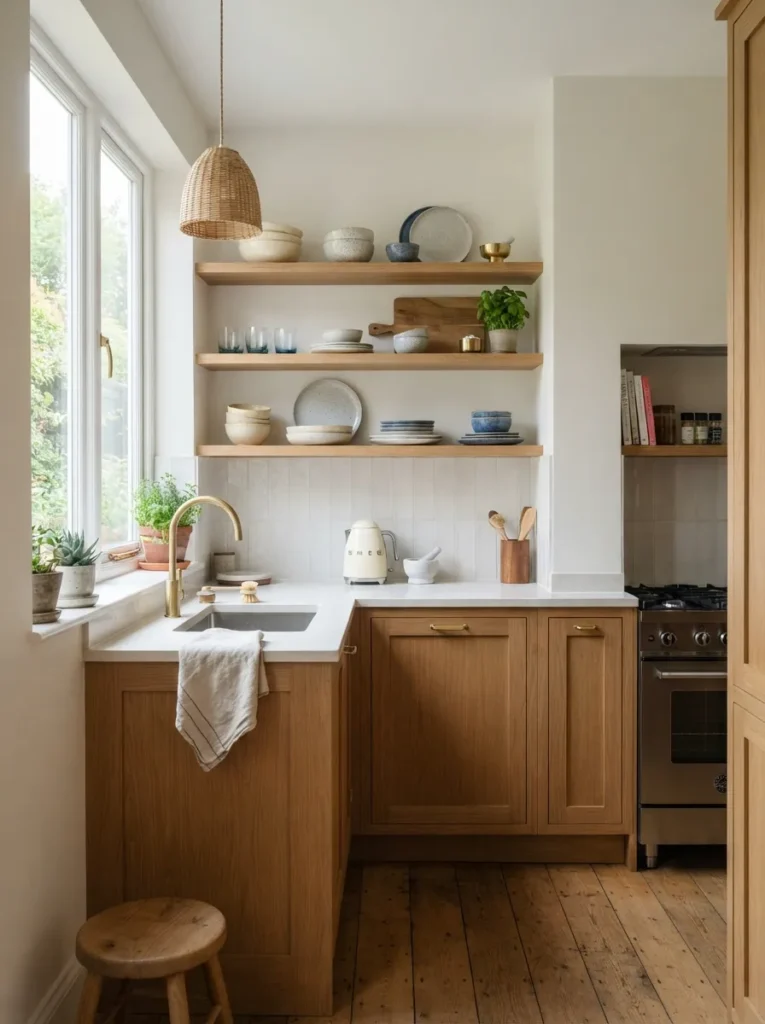
Thickness matters more than most people realize — a shelf that’s too chunky can look clunky in a genuinely small kitchen.
A slim profile that adds warmth and storage without visually overwhelming a small wall.
🛒 Check Price on AmazonDesign insight: Aim for a shelf under 1.5 inches thick. Anything bulkier starts to compete with the airy effect you’re going for.
Pro: Solid wood ages beautifully and can be restained if your color palette changes down the line.
8. Add Wire Basket Inserts for Hidden Odds and Ends
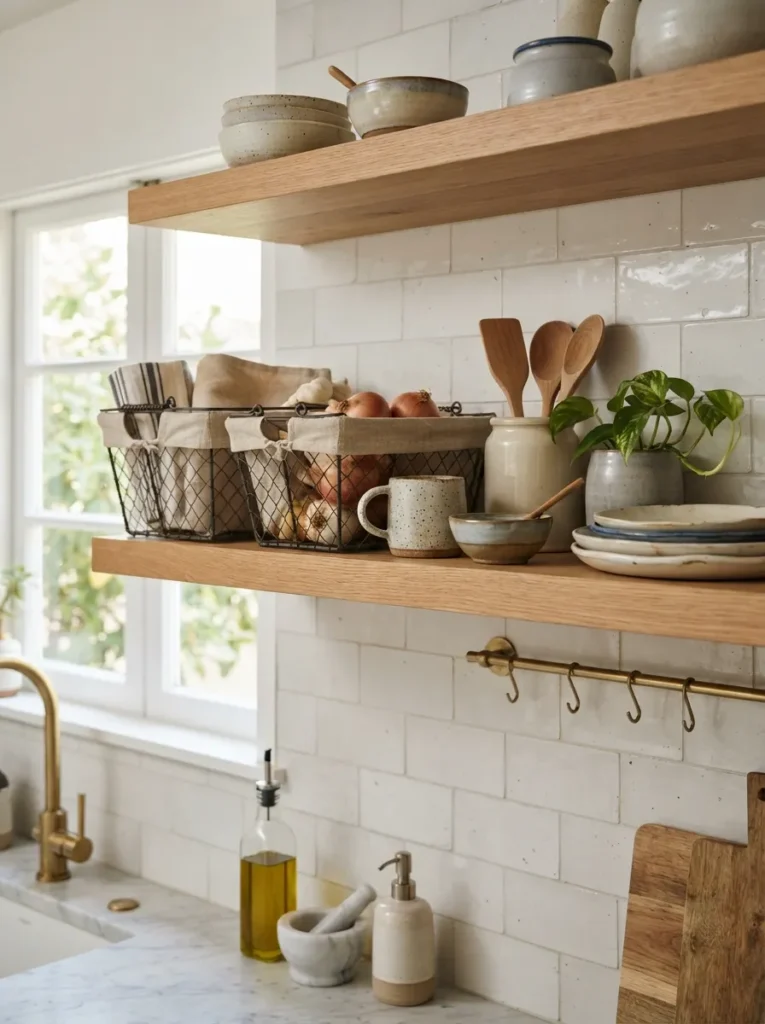
Not everything on an open shelf needs to be on full display — some items just need a home that still looks intentional.
Corrals small, mismatched kitchen items while keeping the overall shelf look tidy and curated.
🛒 Check Price on AmazonDesign insight: Use baskets for tea bags, spice packets, or dish towels — the everyday clutter that would otherwise ruin the clean shelf aesthetic.
Pro tip: Choose a natural woven texture over plastic bins — it blends into an open-shelf display instead of looking like storage overflow.
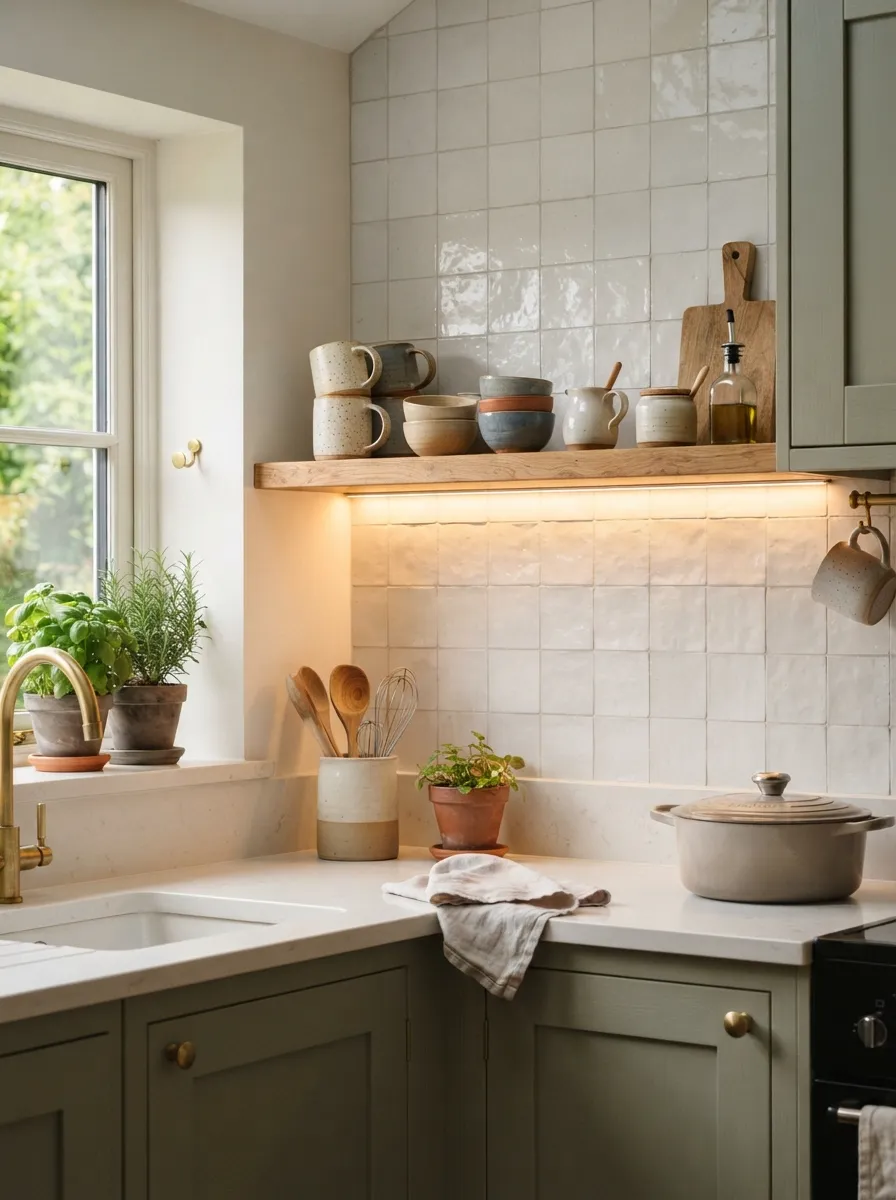
9. Anchor the Look With a Statement Backsplash Behind the Shelf
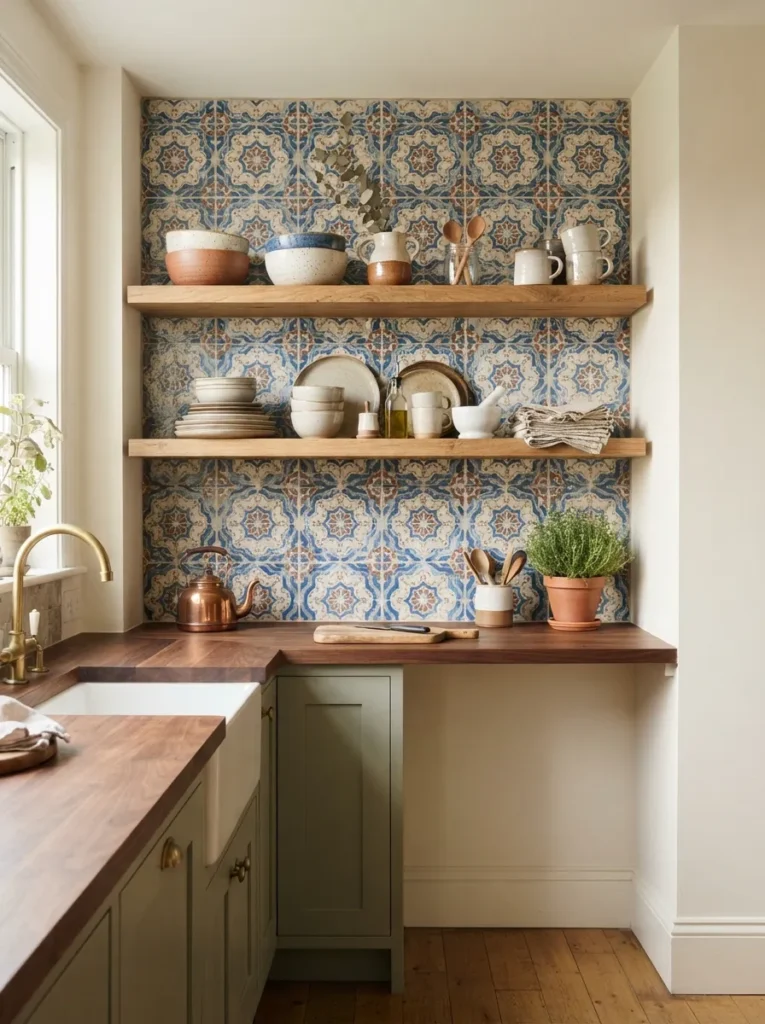
An open shelf against a plain wall can look a little unfinished. A textured or patterned backsplash behind it gives the whole display a proper backdrop.
Design insight: Choose a tile with subtle movement — a soft veining or hand-glazed texture — rather than a busy pattern that competes with your styled dishware.
Why this works for small kitchen open shelving: The backsplash becomes the “wall art” for the shelf, so you don’t need extra decor competing for the same visual space.
Con to consider: Full tile installation is a bigger commitment — a peel-and-stick option works well if you want the look without the labor.
Open shelving isn’t about showing off — it’s about letting your small kitchen finally breathe. Pick one wall, edit your dishware down to the essentials, and watch the whole room feel lighter overnight.